How To Create A Heat Map
n this guide we will how you how to import a zipped shape file and create a Heat Map in just a few clicks.
Time to complete: 5 mins.
A heat map (or heatmap) is a graphical representation of data where the individual values contained in a matrix are represented as colors. Wikipedia
Step 1 - Download Files
(Original file downloaded from Sharegeo Open - NuclearReactors2011 "This data is made available under the Public Domain Dedication and License v1.0 whose full text can be found at opendatacommons.org"
Step 2 - Navigate to Maps and select 'Create New Map'

Name your new map and select save.
Step 3 - Import Data and Add to Map
When to try to load a map without any layers attached you will be presented with the following
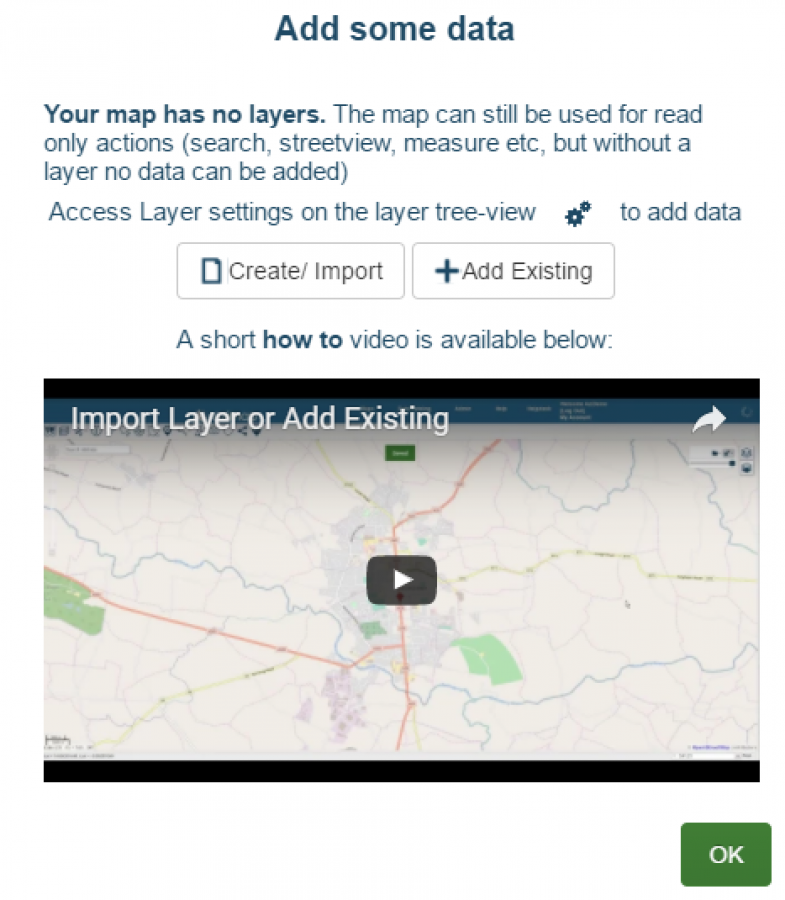
Select Create / Import. (This is also accessible on the map using the gears button on the layer tree view)
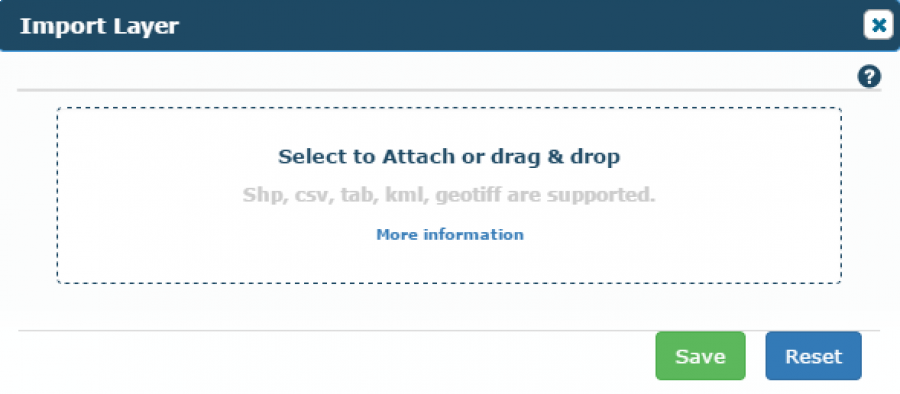
Select Import
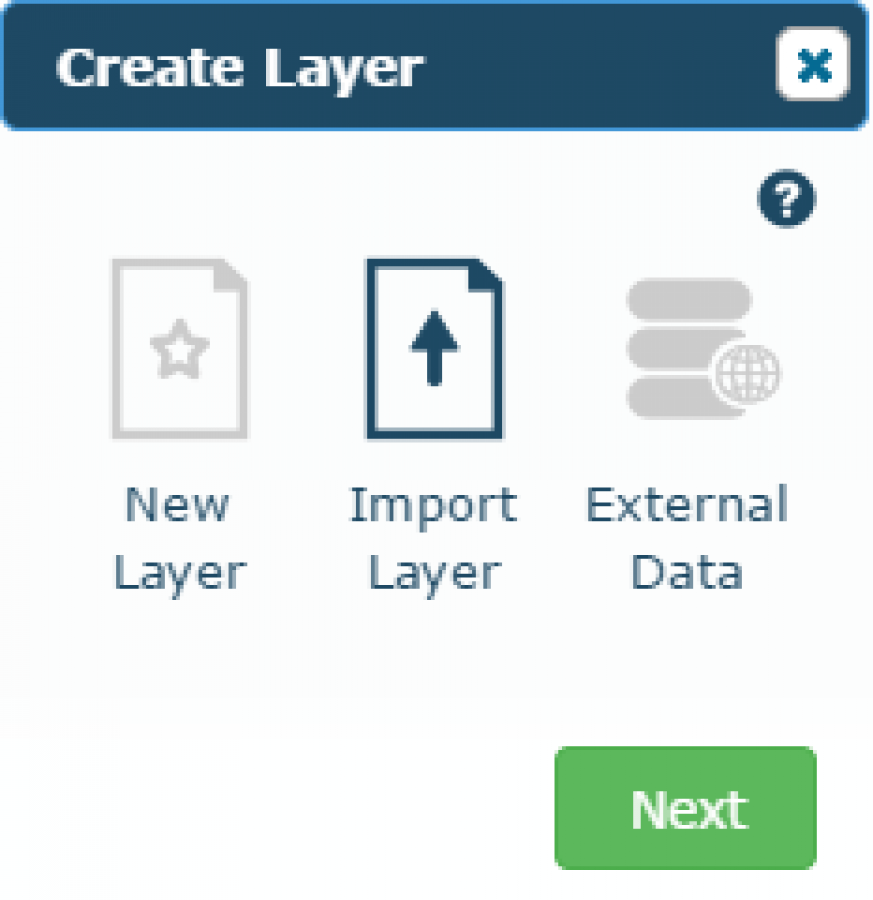
Drag and drop in the DnD area the earlier downloaded zip file
After upload, the projection is automatically chosen and a suggested name is added for your new layer based on the filename (choose any name you would like).
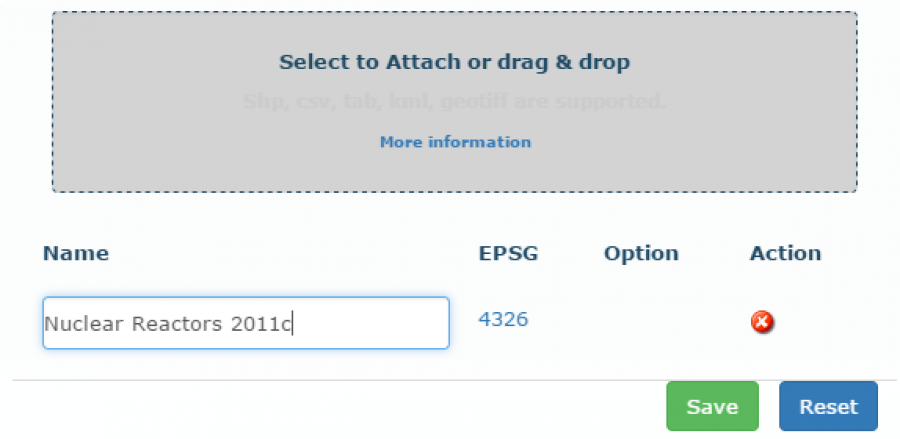
Select Save to import. (The larger the dataset the longer it takes to import your data).
After successful import the map will load the default styling (red squares)
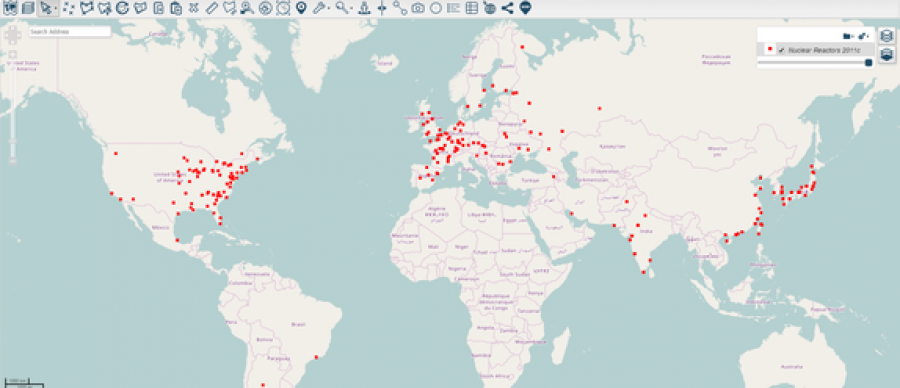
Step 4 - Create the Heat Map
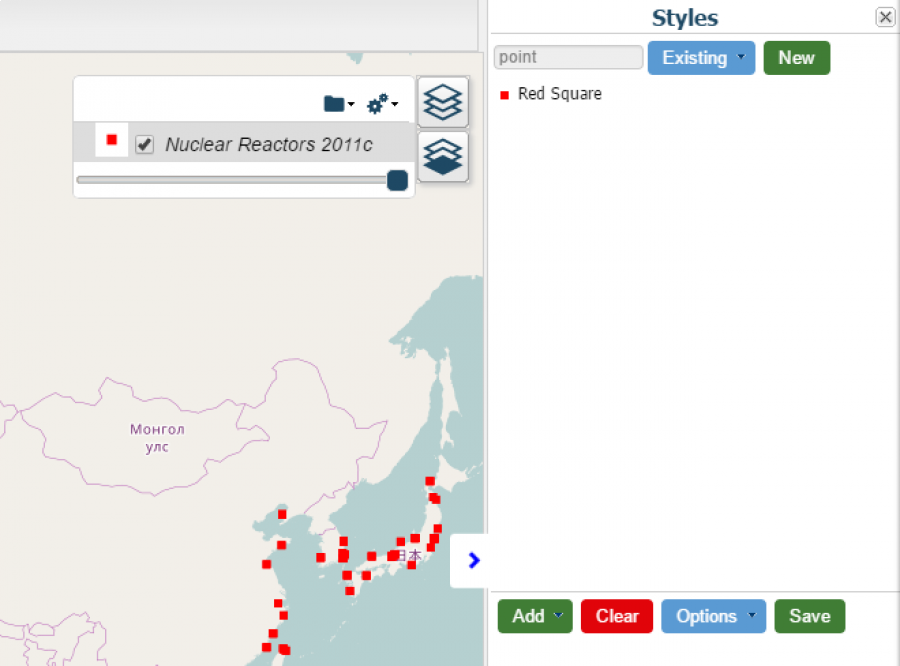
Click on the little red square in the layer tree view to open the styler. (Each layer will have a small preview of its style legend on its left - you can hover over it for a full legend view)
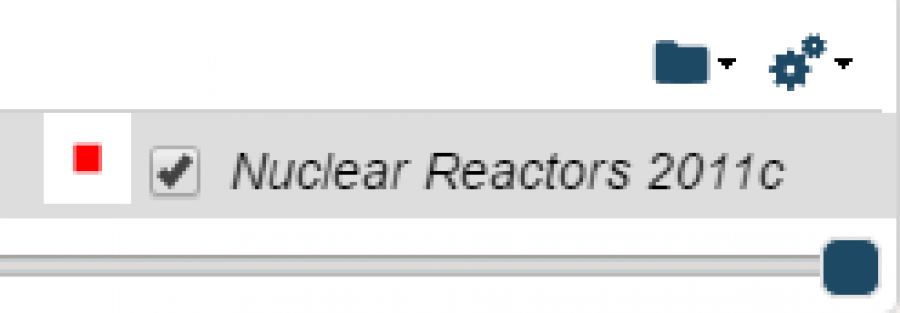
The styler will open in the side panel
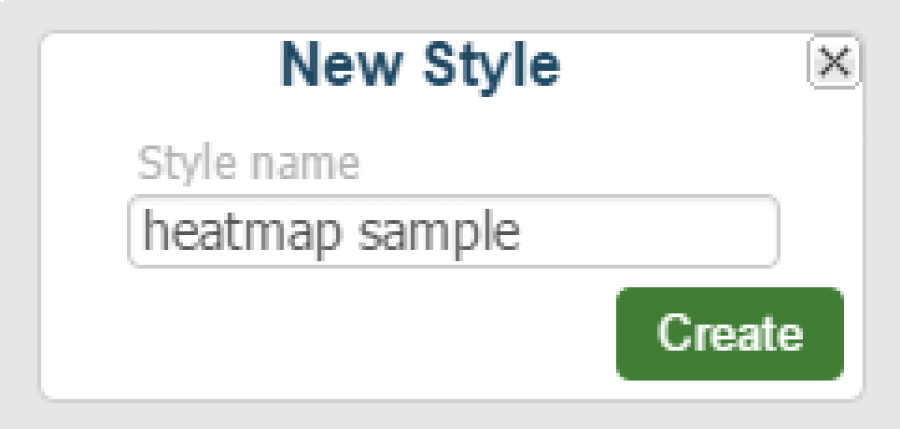
Select New in the top right panel and give your new style a name
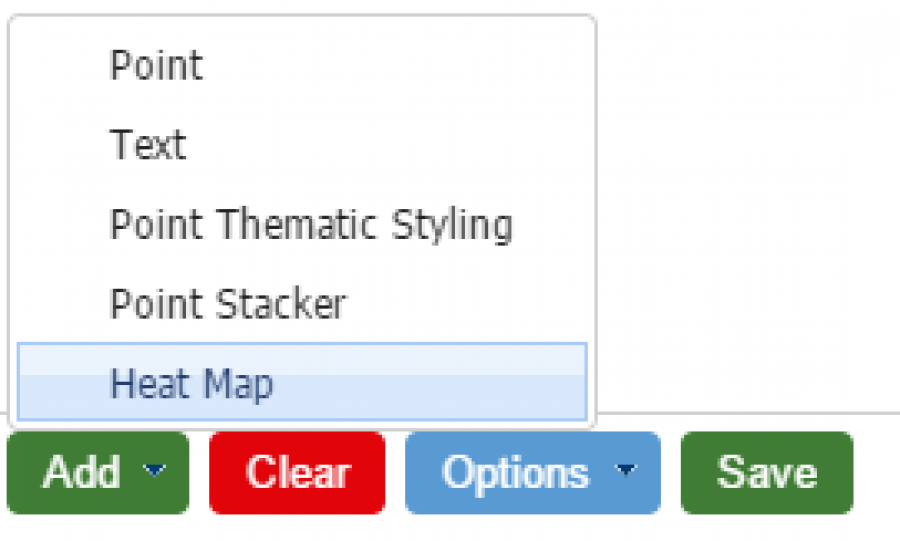
This will create a blank style, select Add and choose 'Heat Map'
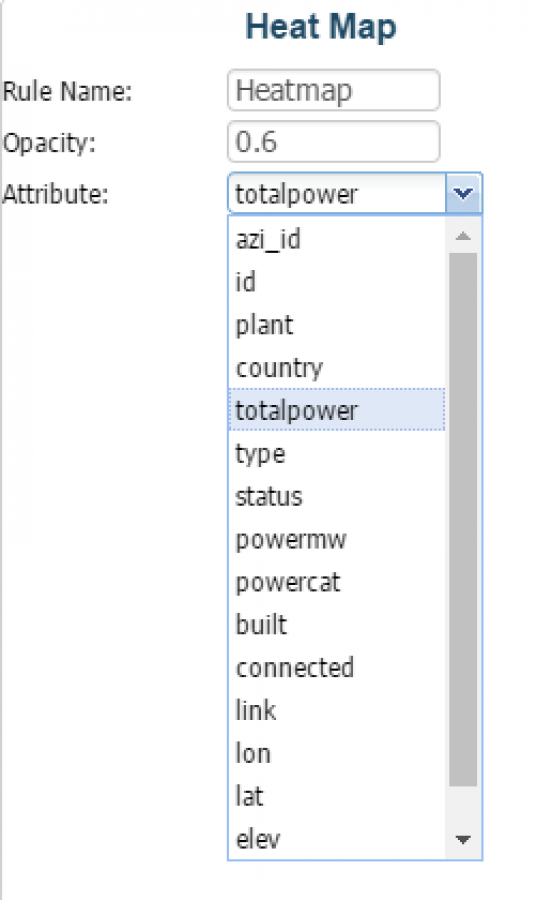
Within the heat map window you have a few options
- Name of the rule for the legend
- Set the opacity for the heat map
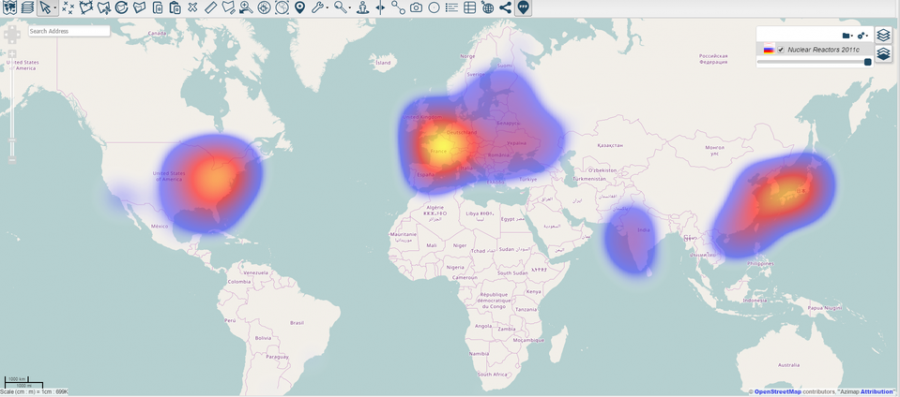
- Choose the attribute of the data on which to style the heat map. For this example the best attribute to choose is 'totalpower' - this will highlight the most powerful nuclear stations
Select OK and continue to load the style.
To apply the style to the map, select Save.

Select Yes to overwrite. Upon selecting Yes, this will replace the current style on the layer with the newly created heat map style.
If you have any questions or need additional support please do not hesitate to email support@azimap.com
